
Compacting Clay Soil: The Right Way to Build a Solid Foundation
Compacting clay soil the wrong way can lead to poor drainage, stubborn air voids, and impenetrable ground.
Unlike sandy soils, which drain quickly and are easier to work with, clay soils are dense, sticky when wet, and rock-hard when dry. Their fine clay particles make optimal compaction challenging, requiring the right balance to avoid suffocating roots or blocking water flow.
Getting the soil compaction process right means managing moisture content, selecting the right compaction equipment, and using proper compaction methods. Without properly compacted soil, projects risk shifting foundations, poor load-bearing capacity, and long-term structural issues.
This guide covers how to compact soil in thin layers, avoid deeper compaction mistakes, and create a stable foundation. From excavation to final grading, get expert strategies to compact soil correctly and prevent costly problems.
Key Takeaways
- Compacting clay soil requires the right moisture, impact force, and equipment to get lasting results.
- Rushing the process leads to shifting ground and drainage issues, but proper layering and compaction create a solid foundation.
- Working with the soil instead of against it ensures stability and prevents costly repairs down the line.
Understanding Clay Soil and Why It Compacts Differently
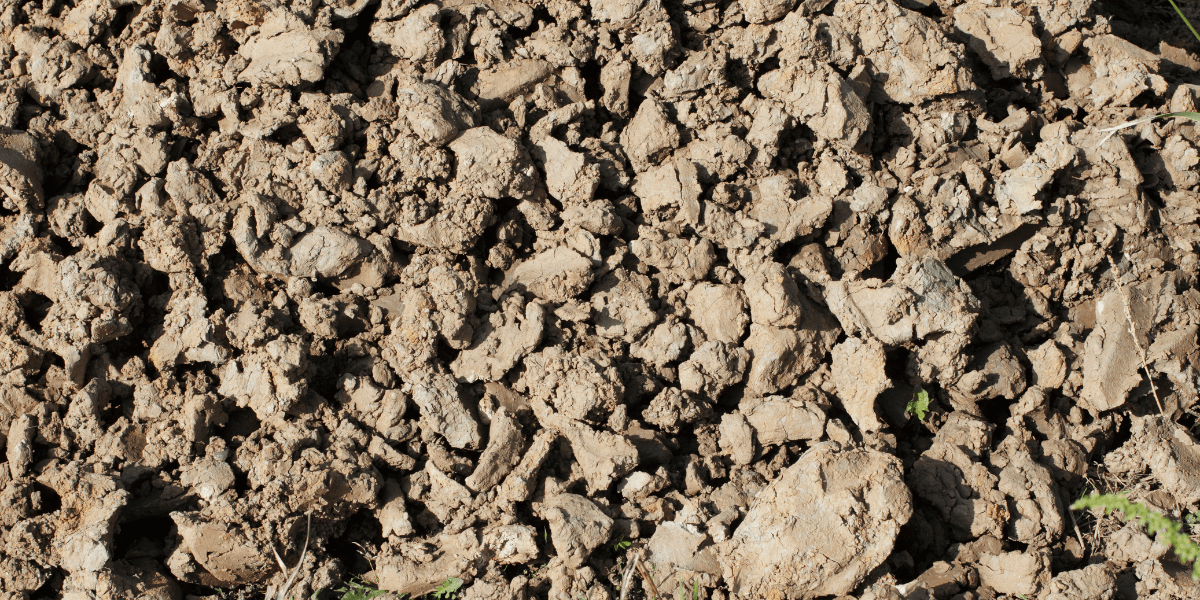
Clay soils hold moisture, resist settling, and don’t compact the same way as sandy soils, which drain quickly and pack down with ease. When wet, clayey soils become sticky and unstable. When dry, they harden and crack, making proper compaction tricky.
Because of their high cohesion, clay soils won’t settle under vibration like granular soils. They need pressure and downward force to reach maximum density without causing drainage issues.
Getting it right takes more than just the right tools—it also means overcoming a few key challenges:
- Overcompaction traps water by sealing the surface, leading to poor drainage and weak root growth.
- Moisture control is key—too dry, and the soil won’t bind; too wet, and it turns to sludge.
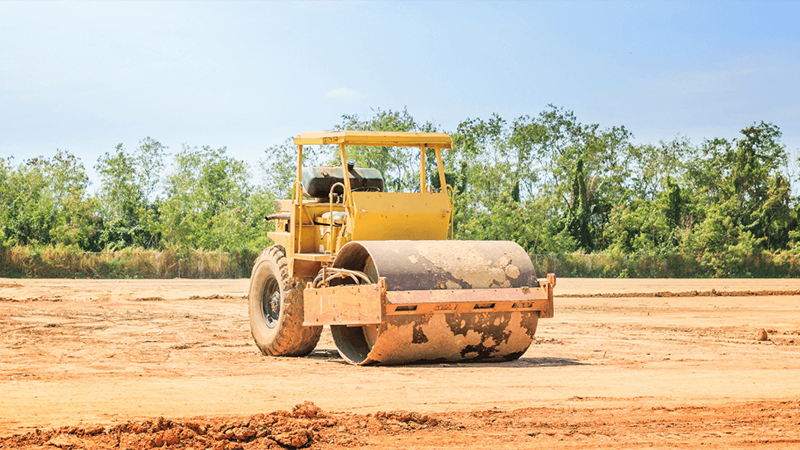
- Compaction force matters. While vibratory rollers work for compacting sandy soils, clay soils need impact from jumping jacks, plate compactors, or vibrating rollers for a solid foundation.
Preparing Clay Soil for Effective Compaction
Compacting cohesive soils like clay requires the right balance of moisture content, compaction methods, and proper timing to achieve optimal compaction. Skipping these steps can lead to poor soil density, weak spots, and drainage problems.
Testing the soil and making adjustments before using compaction equipment helps prevent air voids and ensures a stable, compacted area that can support heavy loads.
Testing moisture levels: The hand squeeze test
Clay soils compact best when moisture levels are just right. A simple way to test this is with the hand squeeze test.
To check if the soil is ready for compaction, grab a handful and squeeze it into a ball. Drop it from waist height and observe what happens. If it crumbles immediately, it’s too dry. If it stays intact or leaves moisture on your hand, it’s too wet.
Ideally, the soil should hold together briefly before breaking into a few chunks. When the soil is too dry, lightly mist it with water and mix it in. If it’s too wet, allow it to dry before compacting.
Tools and materials needed before compacting
Getting clay soils ready for compaction means having the right tools and materials. Certain soil amendments help improve soil density and make compaction easier:
- Lime: Stabilizes soil and reduces shrink-swell cycles.
- Sand: Helps break up heavy cohesive materials and improves drainage.
- Organic matter: Enhances soil structure and prevents excessive hardening.
For effective compaction, the right compaction equipment is key. Standard options include:
- Plate compactors: Best for compacted areas with limited space.
- Vibratory rollers: Ideal for large surfaces, applying consistent pressure across the base material.
- Jumping jacks: Perfect for compacting confined spaces and delivering strong downward force.
- Sheepsfoot compactors: Excellent for deep, cohesive soils that need extra pressure to bind properly.
Timing matters: When to compact for best results
Compacting at the right time prevents soil from shifting later. Wet soils are easier to shape but risk overcompaction. Dry conditions allow for better control but may require added moisture.
Fall is often the best season for soil compaction, as cooler temperatures and moderate rainfall create ideal conditions for achieving compaction without excessive drying or oversaturation.
Weather also plays a role in soil density:
- Heavy rain: Oversaturates the soil, preventing proper drainage and making compaction difficult.
- Drought: Causes extreme dryness, leading to weak compaction results and the need for multiple passes.
- Frost: Expands soil particles, loosening the ground and making construction projects unstable if compacted too soon.
Step-by-Step Process for Compacting Clay Soil
When done right, compacted soil forms a solid, stable base that supports construction projects, landscaping, and heavy use. Cutting corners leads to costly repairs, but following a proper compaction process gets the job done right the first time.
To avoid common pitfalls and achieve a strong foundation, follow these key steps for compacting clay soil properly.
- Prepare the soil. Remove debris, break up large clumps, and level the surface to prevent weak spots. A smooth, even base is key to compacting clay soil properly.
- Check and adjust moisture content. Clay should be damp but not soaked. If it crumbles, add water. If it sticks to tools, let it dry out before compacting.
- Add amendments if needed. Mixing in sand improves proper drainage, while lime stabilizes the soil. Organic matter can help prevent excessive hardening.
- Select the right compaction equipment. Vibratory plate compactors and vibratory rollers alone won’t be enough. Clay needs impact force from jumping jacks or sheepsfoot compactors to pack it down effectively.
- Compact in layers. Work in 4 to 6- inch layers at a time to avoid trapping air voids. Anything deeper won’t compact properly and may shift over time.
- Make multiple passes. Roll or tamp over each layer 5-6 times to achieve optimal compaction. Rushing this step leads to uneven soil density and weak spots.
- Test the compaction. A proctor test is ideal, but stepping on the soil can also reveal soft areas that need additional passes. Compact again if the surface gives under pressure.
Common mistakes to avoid
- Overcompacting seals off the surface, blocking proper drainage and trapping water below.
- Ignoring moisture levels results in soil that won’t hold together or turns to mud under pressure.
- Using the wrong equipment wastes time and effort. Vibratory plate compactors work well for granular soils, but clay soils need impact force from jumping jacks or vibrating rollers for effective compaction.
Testing Your Compacted Clay Soil for Success
A solid compaction process isn’t complete without testing. If the soil is too loose, it can shift under heavy equipment. If overcompacted, it may cause drainage issues. A few simple tests can confirm whether the soil is stable or needs adjustments.
Simple ways to verify proper compaction
The Proctor Test measures the relationship between moisture content and soil density.
A lab Proctor Test provides precise data, but a field Proctor Test can be done onsite using a metal mold and a sledgehammer to compact a sample. If the soil reaches its target density, it has been compacted properly.
For a quicker check, a penetrometer test measures how much force is needed to push a probe into the soil. Low resistance indicates loose soil, while high resistance suggests overcompaction.
Other signs of effective compaction include:
- No sinking underfoot or light heavy machinery.
- No deep cracks or excessive shrinking after drying.
- Water absorbs gradually rather than pooling or running off.
What to do if the compaction isn’t holding
If the soil shifts or feels too soft, additional compaction is needed. Instead of a plate compactor, which is better suited for sandy soils, a jumping jack or sheepsfoot roller can be used to apply the necessary impact force for compacting clay soil effectively.
In some cases, soil amendments may be a better solution. Loose soil that drains too quickly may need clay particles for better cohesion, while hard, cracked surfaces can benefit from organic matter to improve structure and prevent excessive drying.
For stubborn soft spots, deeper compaction can help. Breaking up and recompacting in thinner layers allows soil particles to settle more evenly. If the ground continues to shift over time, aeration or deep tillage can restore stability without requiring a full redo.
How RockZone Americas Helps You Get the Job Done Right
Compacting clay soil starts with proper site preparation. Breaking up dense soil particles, blending stabilizers, and removing debris make the compaction process smoother and more effective.
RockZone Americas provides powerful attachments that help contractors prepare tough soil types for compacting soil effectively.
Why equipment matters in clay soil compaction
Before using compaction methods, clay-heavy ground often needs grinding, mixing, or screening. RockZone Americas offers high-performance tools that streamline this process:
- Rockwheels grind through compacted clay, reducing larger particles into smaller particles for better grading.
- Soil Mixers blend stabilizers like sand, improving moisture content and preventing weak spots.
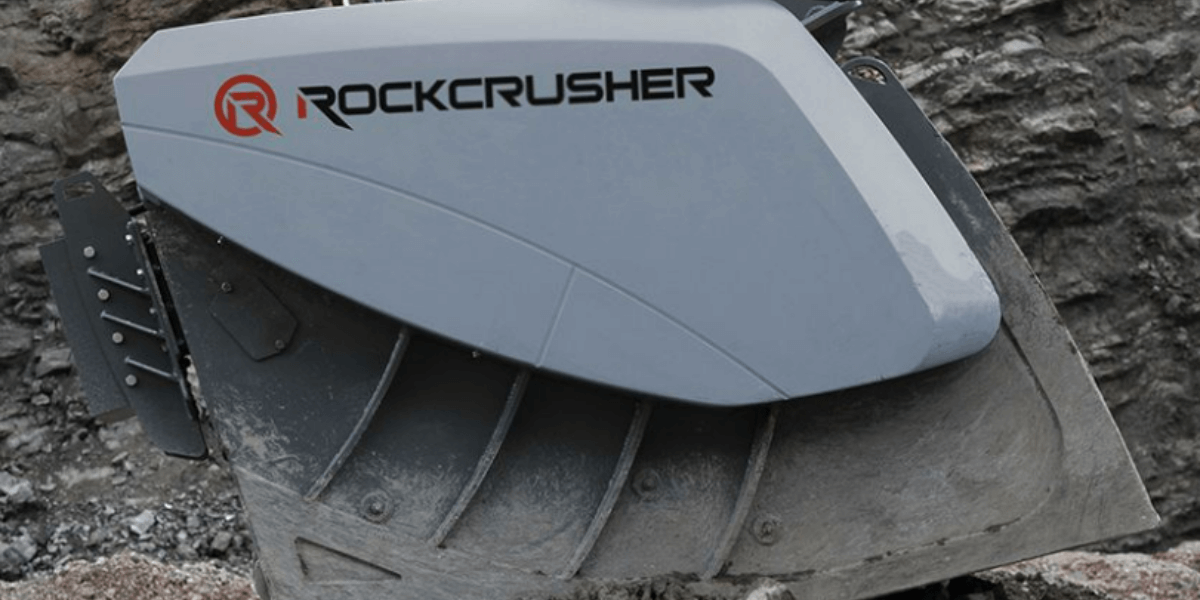
- Rockcrushers break down embedded rock, creating a smoother surface for plate compactors and rollers.
- Rockscreeners filter out debris that can interfere with common methods of soil preparation.
RockZone Americas: Your go-to for tough soil prep
For 50 years, RockZone Americas has provided heavy equipment for construction projects, mining, and environmental remediation. Contractors rely on our attachments to speed up soil preparation, improve efficiency, and reduce rework.
With the right tools, even challenging soil types like clay can be prepped for compaction methods that deliver long-lasting results. Call RockZone Americas today or reach out online to find the best equipment for your next project.
Conclusion
Compacting clay soil is about working smarter, not harder. The right moisture content, impact force, and layered compaction create a strong, stable foundation that lasts.
Rushing the process leads to drainage issues, shifting ground, and costly fixes. But when done properly, compacted soil supports heavy loads, prevents settling, and keeps everything in place.
Take the time to do it right. Use the right compaction methods, follow each step carefully, and build a foundation that holds up for years to come.
Frequently Asked Questions
Can clay soil be compacted?
Yes, but it takes the right approach. Unlike sandy soils, which settle easily under vibration, clay soil needs impact force to compress properly.
When compacted correctly, it forms a stable foundation that supports heavy loads and prevents shifting. The key is balancing moisture content, using the right equipment, and working in thin layers.
What is the best compaction method for clay?
Clay compacts best with impact-based methods rather than vibration alone. Jumping jacks and sheepsfoot rollers apply the downward force needed to press soil particles together.
Compacting in 4-6 inch layers and making multiple passes helps achieve maximum density without trapping air or water.
How long does clay take to compact?
The actual compaction happens quickly, but the moisture content determines how long the process takes.
If the soil is too wet, it may need hours or days to dry before compacting. If it is too dry, adding water and letting it absorb for a few hours helps. Working in thin layers speeds up the process and prevents delays.